ScrewShield for Arduino

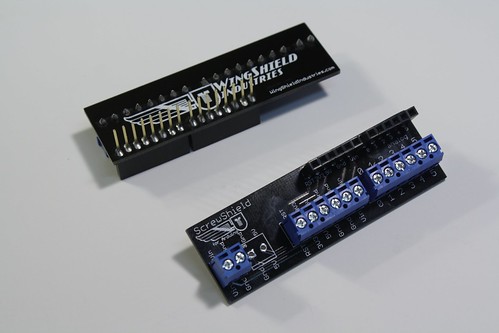
The ScrewShield is a “wing-format” shield that extends the Arduino pins to sturdy, secure, and dependable screw terminal blocks. (You even get a few bonus terminals for extra GND and power!)
You can purchase a ScrewShield kit at the Maker Shed, SparkFun Electronics, Adafruit Industries, FunGizmos, Oomlout (UK), Solarbotics (CN), and Liquidware.
The ScrewShield has two missions in life:
- Prevent your project’s wiring from falling apart
- Look really, really awesome
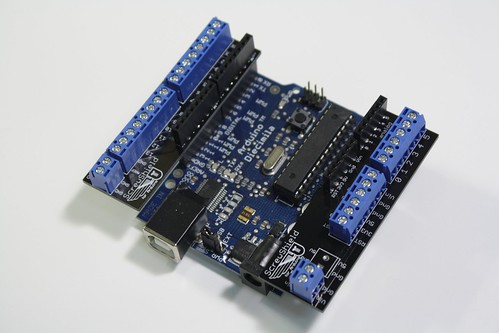
The wing design allows you to extend just one or both sides (“analog” & “digital”) of the Arduino, and still access the jumpers, LEDs, and buttons on the Arduino.
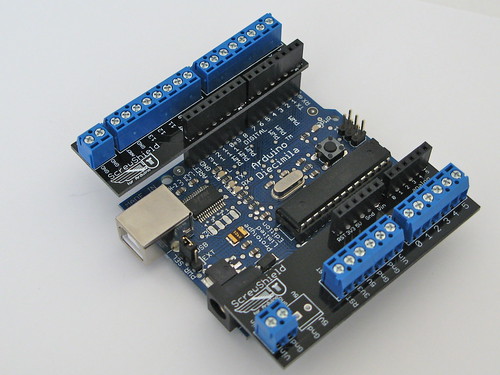
Thanks to its extra-long header pins, the ScrewShield can be stacked above or below other shields.
Where to buy
ScrewShields were initially available for purchase exclusively at the Maker Shed at the 2009 Maker Faire, May 30 & 31. They are now available at the makershed.com site and are coming soon to other fine online kit vendors. We’ll keep you posted.
What’s in the bag
Within the delightfully scented plastic bag you will find:
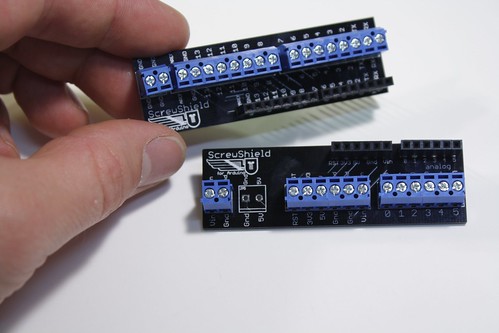
- 1 Analog-side PCB
- 1 Digital-side PCB
- 2 sets of 6-pin stacky female header pins
- 2 sets of 8-pin stacky female header pins
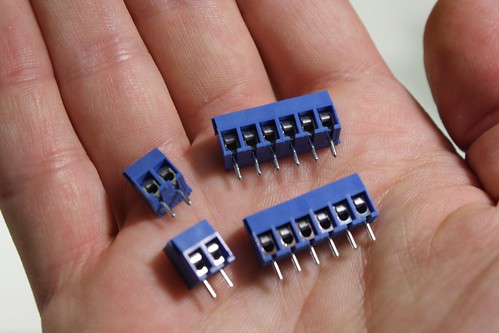
- enough terminal blocks to fill 32 holes on the board (these come in 2- and 3-terminal units, which slot together as described below).

Make it
Preparation
Heat up your soldering iron, grab some solder, a third-arm tool or vise and start up a small fan or open a window to remove noxious fumes. If you’re in a dark room you should also turn on a light. NEVER SOLDER IN A PITCH DARK ROOM. The grues will get you.
Soldering
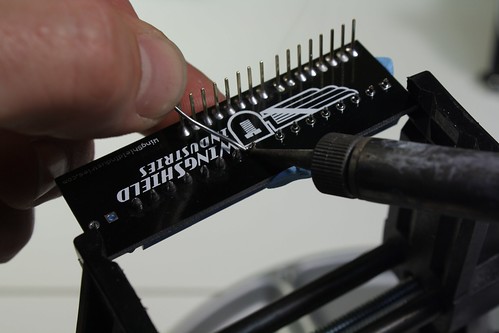
Fit the two 8-pin headers into the pin-rows on the “Digital” wing PCB.
For perfect alignment, and to prevent them from falling out when you turn the board over to solder it, use tape or poster putty to secure the headers.
Turn the wing over and start soldering!
Fit the two 6-pin headers into the pin-rows on the “Analog” wing PCB. Again, use tape or putty to secure them.
Now, flip this wing over and solder it up.

You can test your alignment now by fitting the ScrewShield wings into an Arduino. All good? Great! (If not, heat up the solder a bit or desolder, straighten and re-solder).
You’re half way there! Time for the terminal blocks.
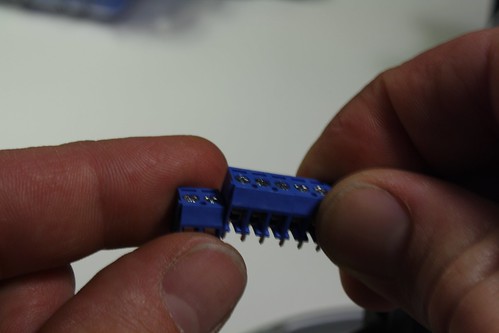
The terminal blocks come in the kit come in 8-block rows. These are formed from two 3-block units and one 2-block unit; they slide together vertically to form happy little Monopoly-house looking neighborhoods. To form a 6-block row, slide off the 2-block unit.
Make two 6-block terminal block rows for the “Analog” wing, and set them aside for later.
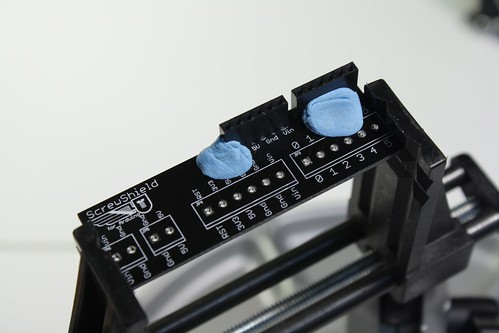
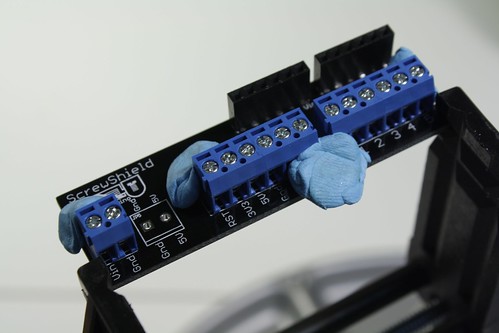
Fit two 8-block rows into the “Digital” wing as per the white outlines with the wiring ports facing out. (Not pointing in toward the female header blocks. Unless they’re feeling shy. Then go right ahead.) Use tape or putty or used chewing gum to hold these in place temporarily.
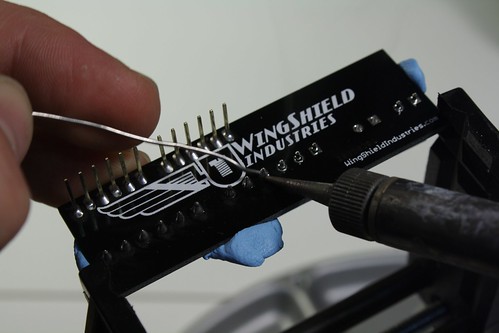
Flip the “Digital” wing over and solder the block pins in place. These are both electrical and mechanical connections, so use a good amount of solder to fill up those holes.
Fit the two 6-block rows, and one 2-block unit into the “Analog” wing as per the white outlines. Once again, face the holes out. (You thought this paragraph would be copy/pasted from the one up above with some word substitutions, right? Wrong! That’s too dangerous.) Secure the blocks in place with some tape, putty, gum, paste, etc. You know the drill by now.
Flip the “Analog” wing over and solder the block pins in place.
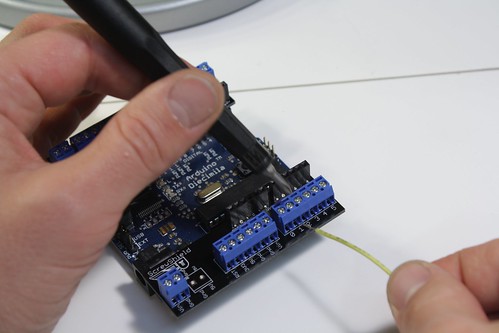
You should have one spare 2-block screw terminal unit at this point. You can choose to put it in either the “Digital” or “Analog” wing. Here we show it being used to add more GND terminals on the “Digital” wing.
You’ve just finished building the ScrewShield kit, time to use it.
Use it
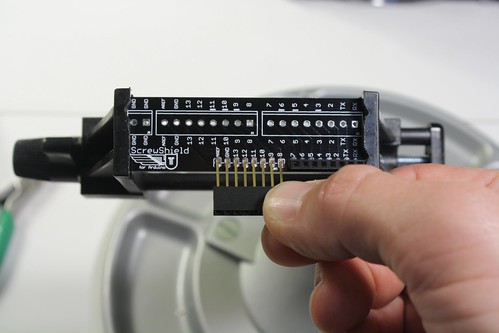
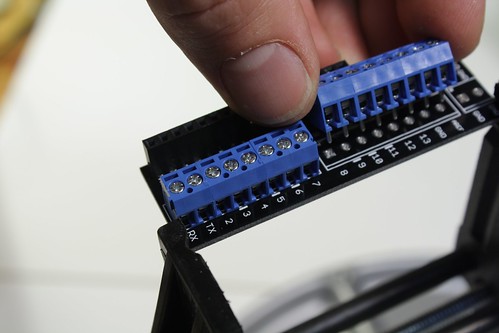
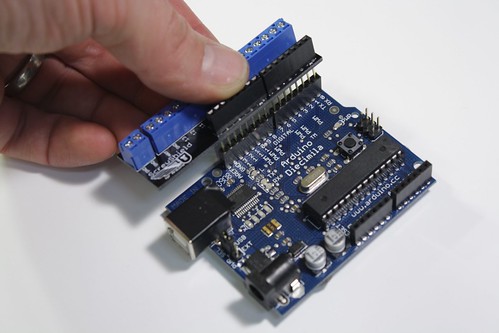
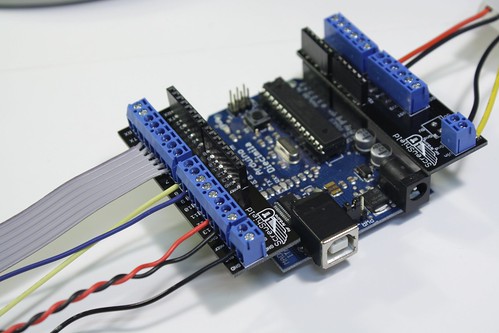
Slot one or both ScrewShield wings into the appropriate side of your Arduino. Be mindful of the pin alignment before you go jamming it down!
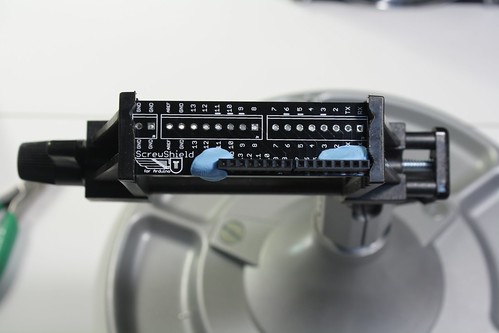
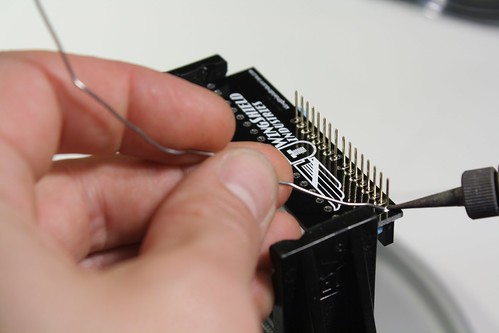
Place a length of stranded wire into an open terminal and screw it down to secure the wire. It’s that simple!
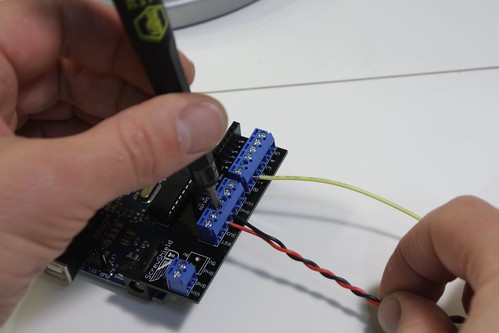
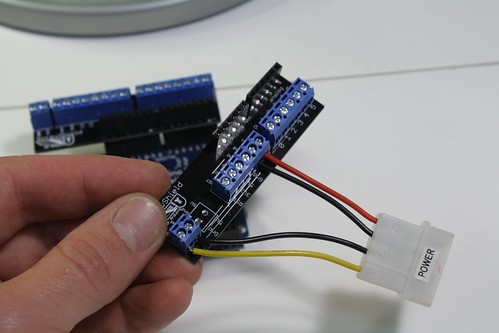
We’ve found all kinds of great uses for these including running multiple wires to one terminal, affixing evil Molex connectors for beefy power jacks, and using pre-wired ScrewShield wings to quickly swap out components that are plugged into an Arduino.
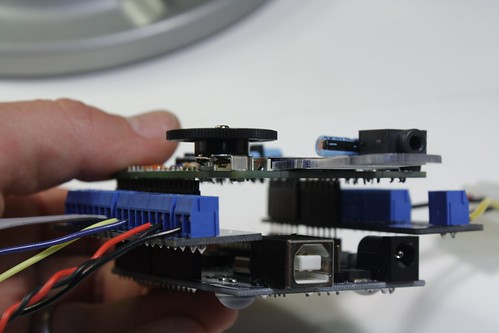
You can even stack multiple ScrewShields on top of each other for maximum fun. Please buy lots of them and help put our kids through college/fund our nefarious plots/buy us a cup of joe.
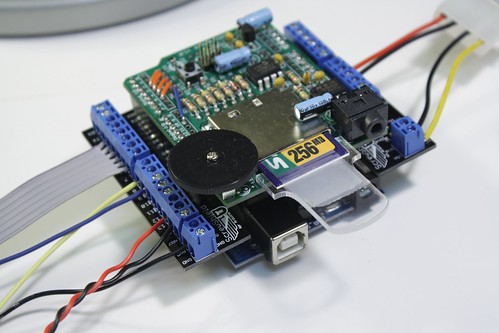
And, of course, you can stack other wonderful shields, such as the Adafruit WaveShield pictured here, on top of or below your ScrewShields.

We hope you enjoy building and using your ScrewShields!
Thank you,
Tod, Brian, & John